Eliminating chips, grit and grime is a surefire way to extend tool life and improve part quality, but proper tool maintenance goes much further than this.
When machinists are under pressure to get parts out the door, it’s understandable that they might seek to delay housekeeping activities if possible.
In the case of toolholder maintenance, however, doing so will probably make them farther behind schedule. That’s because even a tiny chip or speck of dirt in the wrong place is enough to generate tool runout, and as everyone knows, runout is to tool life what kryptonite is to Superman.
It would be one thing if the downsides were limited to poor tool life, but improper setup and maintenance of toolholders leads to a variety of serious problems. These include broken collet nuts, stripped threads, damaged collets and toolholder tapers, and in the worst case, premature failure or even destruction of the machine spindle itself. Add to this unfortunate side effects such as unplanned downtime and poor part quality and the message is clear: Take care of your toolholders and they’ll take care of you.
“Let’s be honest, shops are often too busy to sit and look over every single toolholder between cutting tool changes. From a longevity and performance perspective, though, we wish they would.”
David McHenry,Rego-Fix USA
But what does that mean, exactly? And who has time for what might seem like a nitpicky task, given the overwhelming need to keep chips flying and machine spindles turning?
To find out, we asked experts from three leading tooling suppliers for advice on toolholder cleaning. Some of their answers might surprise you:
Keep it clean: As this article’s title suggests, cleanliness should be the first step in any tool maintenance routine. Greg Webb, executive vice president of business development at Techniks, suggests that an ultrasonic tool cleaner goes a long way toward removing the fine particulates that accumulate on and within any toolholder assembly, followed by wiping down tools with a lint-free cloth. “Toolholders are made to such exacting tolerances that it makes me cringe when I see machinists using a Scotch-Brite pad to clean locating surfaces,” he says.
Carefully inspect toolholders after each use and during tool changes, looking for signs of wear, galling and fretting on locating tapers, dings, nicks, and cracks, and bell-mouthing near the retention knob. (Image courtesy of Rego-Fix)
Visual checks: David McHenry, engineering and technical manager for Rego-Fix USA, agrees, adding that routine visual inspection of toolholders and components is equally important. “Let’s be honest, shops are often too busy to sit and look over every single toolholder between cutting tool changes. From a longevity and performance perspective, though, we wish they would. Doing so helps them identify the witness marks that indicate a chip has wedged itself in the spindle taper, or that someone has mishandled the toolholder at some point. Catching those things early prevents further damage to the toolholder or the machine spindle.”
Ditch the breaker bar: Speaking of mishandling toolholders, it starts with improper torquing. McHenry’s colleague at Rego-Fix is Jeff Schemel, North American sales manager. He notes that ER collets in particular are susceptible to overtightening, and that the amount of torque to apply depends on the size of the collet and its manufacturer. “Small collets are very easy to overtighten, as are those with a lubricious coating,” he says. “That’s why we always recommend following the manufacturer’s torque chart and assembly instructions for all tooling, ER collets or otherwise.”
Retention reasons: This holds true for retention knobs as well. According to Ronald West, senior global product manager for tooling systems at Kennametal, too much torque can bell-mouth the metal around the retention knob, leading to damage of the spindle and toolholder alike. Too little and it might come loose during operation, with catastrophic results. Says West, “I was guilty of these and other bad practices during my days in the shop, but since coming to work for a tooling manufacturer, I’ve come to appreciate how sophisticated these products really are. Always buy high-quality retention knobs, and always use a torque wrench to tighten them to the specified manufacturer’s torque requirement.”
Carts are for horses: And stop throwing toolholders in drawers, he adds, where they’re free to roll around and create all manner of nicks and dings on precision-ground surfaces. West and others strongly recommend transporting tools in a dedicated CNC tool cart and storing tools in their original containers or a rack that will keep them separated. He also suggests using a plastic sleeve to cover assembled tools before wheeling them out to the shop floor, lest a passerby brush an arm against a sharp cutting tool.
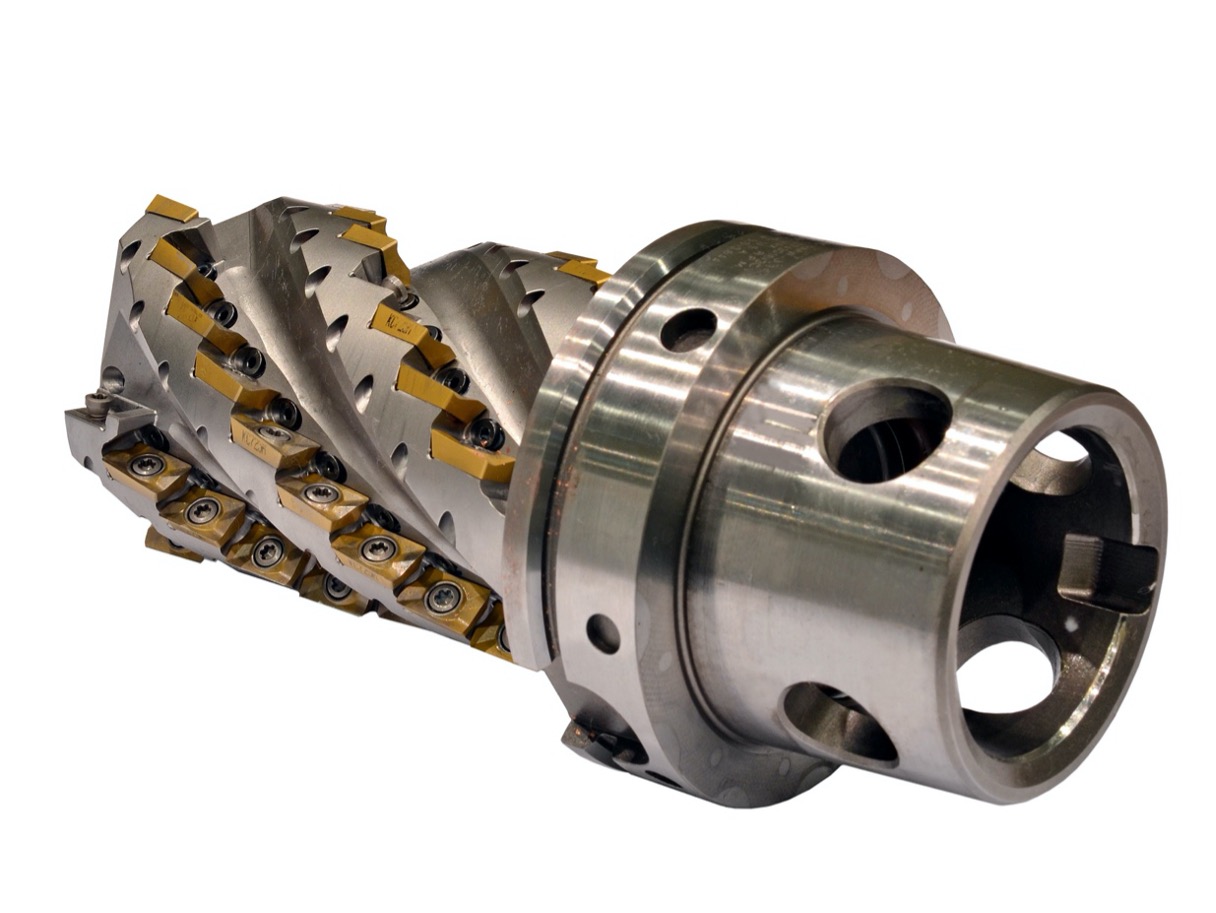
Toolholders with dual face and taper contact like the KM4X integral milling cutter shown here require perfectly clean and smooth surfaces if proper seating is to occur. (Image courtesy of Kennametal)
Tear it down: No one’s going to like this next recommendation. Techniks’ Greg Webb says that leaving toolholders assembled for long periods of time is a no-no. “If you take a tool assembly out of a machine and don’t intend to use it for a while, take it apart, clean and inspect all the components, apply a rust inhibitor where appropriate, and put everything in its own container,” Webb says. “Otherwise, you’re leaving the collets and setscrews under load, which over time creates metal fatigue. And by leaving toolholders assembled, you’re giving corrosion an opportunity to damage critical surfaces.”
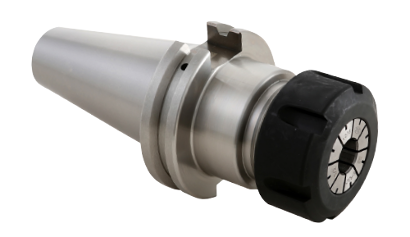
Collet chucks should be fully disassembled and cleaned between tool changes. And with ER-style holders, always insert the collet into the nut before threading onto the toolholder body. (Image courtesy of Techniks)
Don’t fret: Webb also points out that what looks like corrosion might not be. The bell-mouthing that Ronald West mentioned earlier ultimately leads to fretting, which looks like rust but is actually an indicator of a) imperfect seating between the toolholder and spindle taper due to nicks or embedded chips, or b) inadequate drawbar force. Whatever the cause, toolholders should be discarded at the first sign of fretting. If not, damage to the machine spindle is inevitable.
Round and round: To avoid the inadequate drawbar force and resultant fretting just mentioned, it’s a good idea to routinely check CNC machining center spindles with a commercially available testing device. Also, use a handheld spindle cleaner between tool changes to remove any chips or fines that might be stuck to the taper, and inspect the clamping mechanism within for wear. Doing each of these things on a regular basis can prevent extensive damage to the spindle and toolholders.
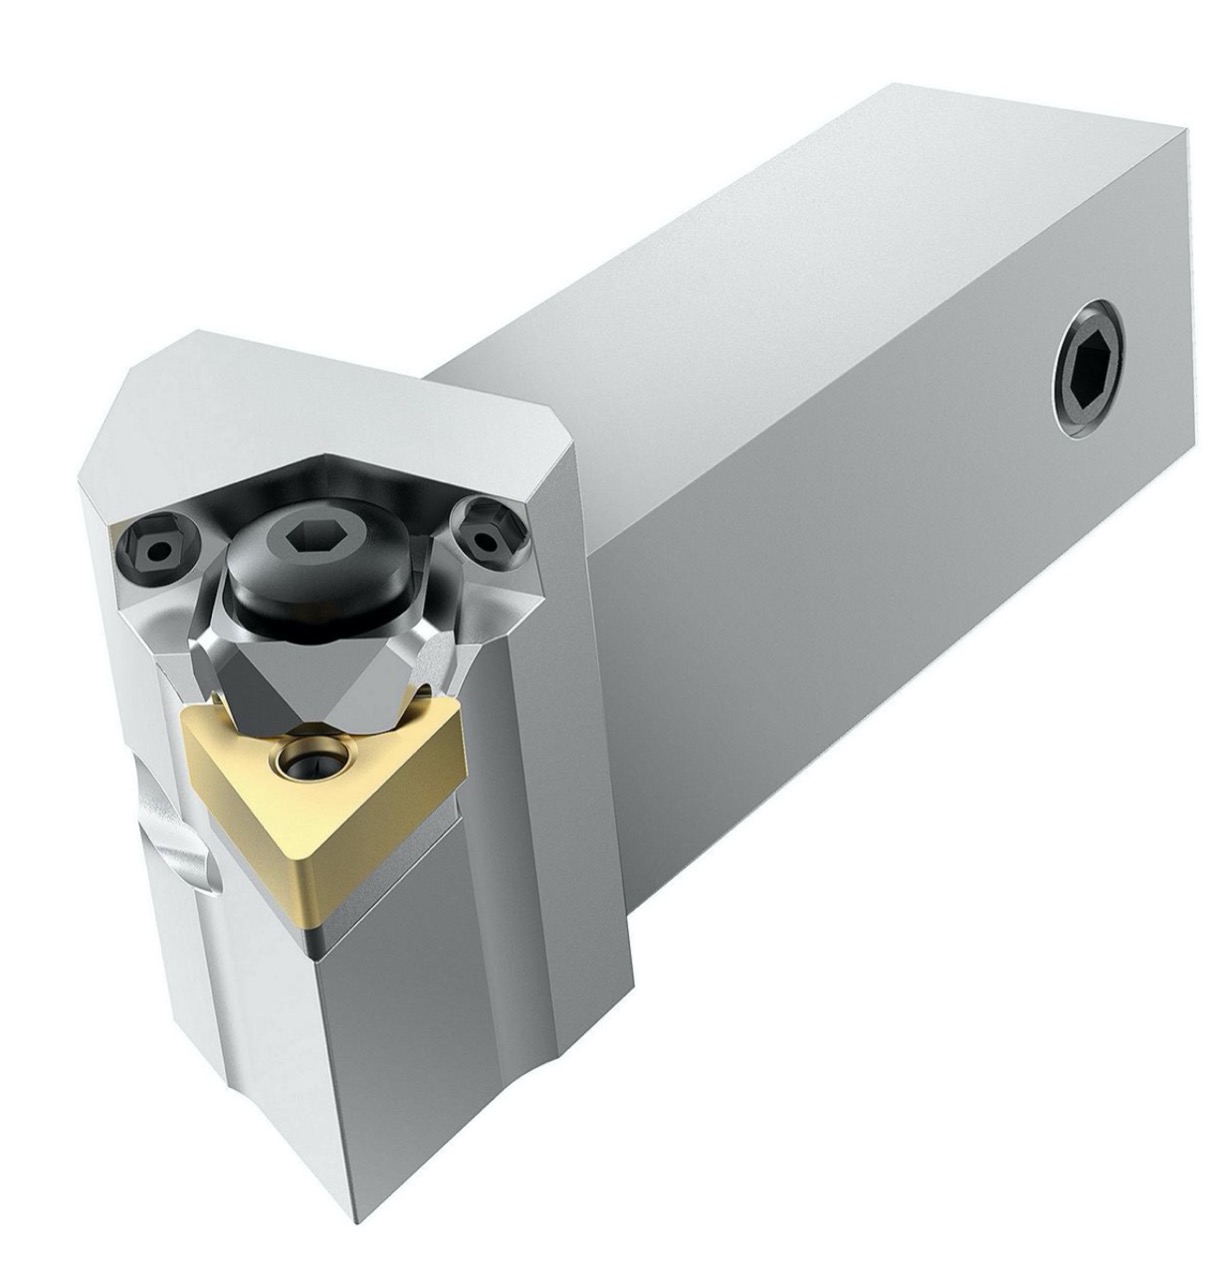
Proper toolholder maintenance extends to turning tools as well. Always check for cracked shims and damaged seating surfaces, and be sure to tighten screws to the recommended torque levels. (Image courtesy of Kennametal)
To be fair, each of the people cited in this article gave largely the same advice. What’s most important, regardless of the source, is to follow the advice given here. Take the time needed to maintain toolholding, no matter how busy you are. Put together a shopwide strategy and establish a set of “best practices” ground rules. And if not already in place, implement a tool crib and a team to manage it. Your company’s bottom line will thank you.
What best practices for toolholder hygiene do you use? Share your thoughts and insights in the comments below.
Kip Hanson is a freelance writer and manufacturing consultant. Hanson, who is the proprietor of KAHMCO LLC, has more than 40 years experience in manufacturing, machine tools, fabrication and ERP systems. In addition, Hanson is a contributing editor at Manufacturing Engineering, Shop Metalworking Technology and others. He has been writing about manufacturing technology since 1998.
To request a quote, please login to your existing account or register a new one. This helps us provide you with a personalized experience and keep track of your requests.


![The History of Manufacturing in the U.S. [Infographic]](https://images.ctfassets.net/5j4ln2up7bt7/fDsTnKF6GUAIvHgfShnVa/85e0c4f78c822db6b183aef86e779d38/Image_FOUR_GettyImages-1026499496-thumb.jpg)