Thread Milling vs. Tapping: What Are the Pros and Cons?
Thread milling and tapping have distinct advantages and disadvantages, and knowing when to use one over the other can make or break a job. Two experts compare the two threading methods.
Many machinists regard thread milling as the preferred method of generating internal threads. Tapping, on the other hand, is significantly faster, is largely considered easier to set up and generally calls for less-expensive cutting tools.
When comparing one machining method with another, however, it’s always best to speak to experts who are familiar with both. Marlon Blandon, thread mills product manager for EMUGE Corp., and Kyle Matsumoto, product manager for OSG, spend their days thinking about threads and the best way to cut, form or mill them.
Here, Blandon and Matsumoto discuss the pros and cons of these two threading methods.
Tool Size and Availability
There are a lot of taps to choose from. Looking at just one type, straight flute taps, you’ll find tools for ultra-tiny #000-120 threads to tools big enough for 1-1/2”-6 threads, the latter nearly impossible to drive with anything but a high-horsepower, geared-head spindle.
By comparison, the sky’s the limit for thread milling. Cutters for these and practically any other size thread are readily available, with no concerns over spindle torque.
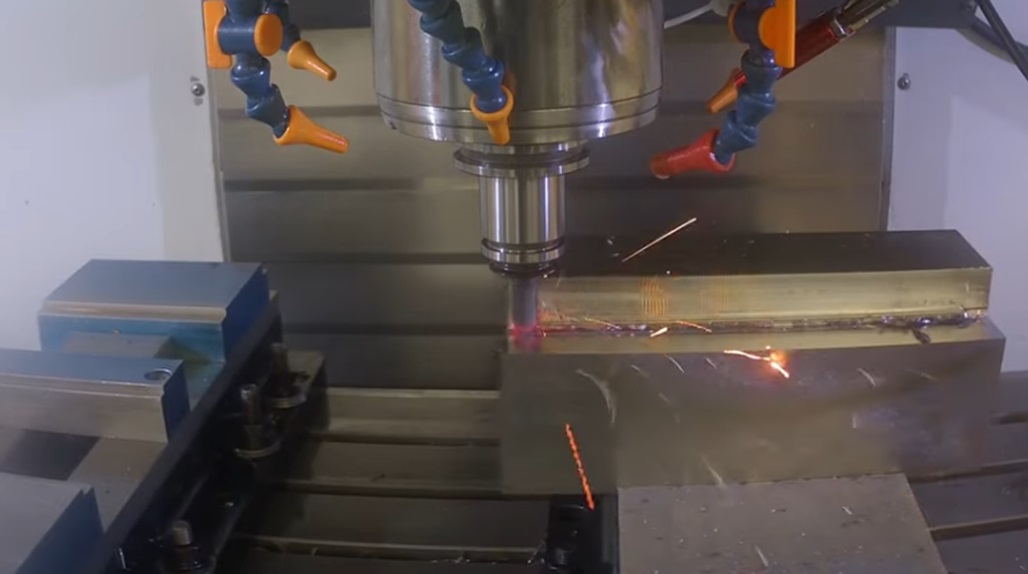
Using a full-profile 1/4”-20 thread mill in mild steel, you’re probably looking at about 10 seconds to ramp into the cut, trace a full circle and get out. A single-plane thread mill will take much longer, however, as the cutter has to complete a full pass around for each pitch of the thread.
While tapping takes first prize for speed, it comes in a distant second for machining flexibility. Every one of the four dozen or so screw sizes on the ANSI thread chart requires its own tap.
Cut or roll tap that same thread on a drill/tap center or a CNC machining center equipped with one of EMUGE’s Speedsynchro tapping heads and you’re looking at a second or two, maybe less, per hole.
While tapping takes first prize for speed, it comes in a distant second for machining flexibility. Every one of the four dozen or so screw sizes on the ANSI thread chart requires its own tap. Add to that the need for bottom taps, plug taps, form taps, straight flute, spiral flute and spiral point—with various H-sizes for each—and you can see why taps are a tool crib manager’s nightmare.
By contrast, a single-plane thread mill can replace all of those taps, hole size and depth permitting.
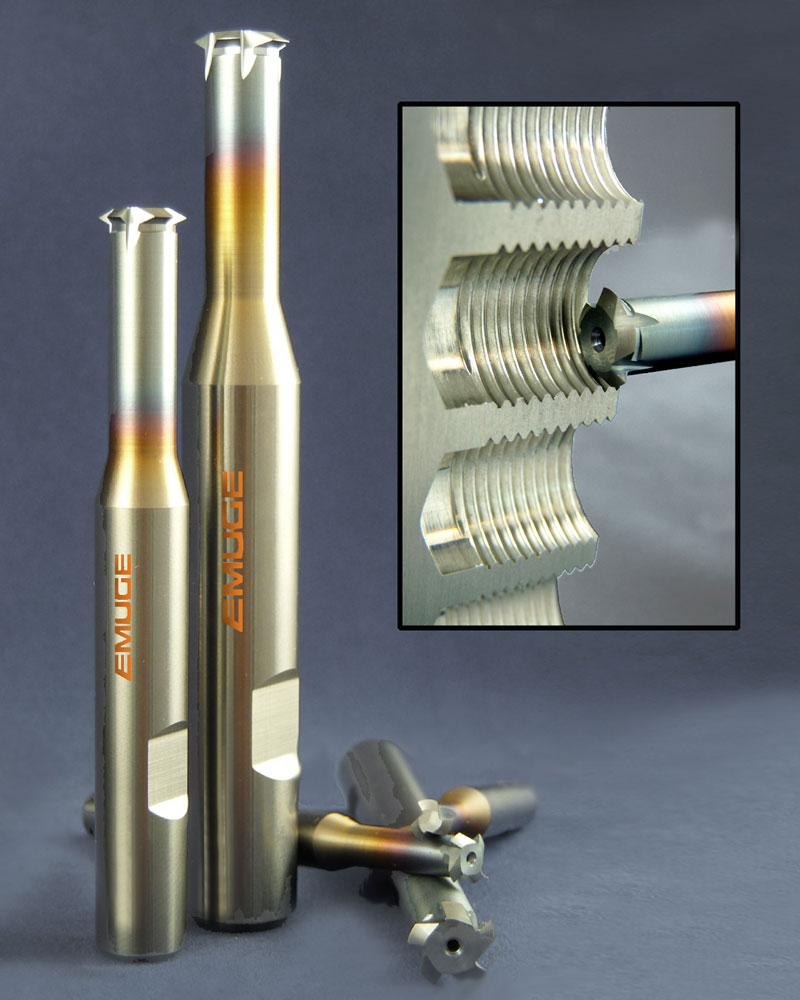
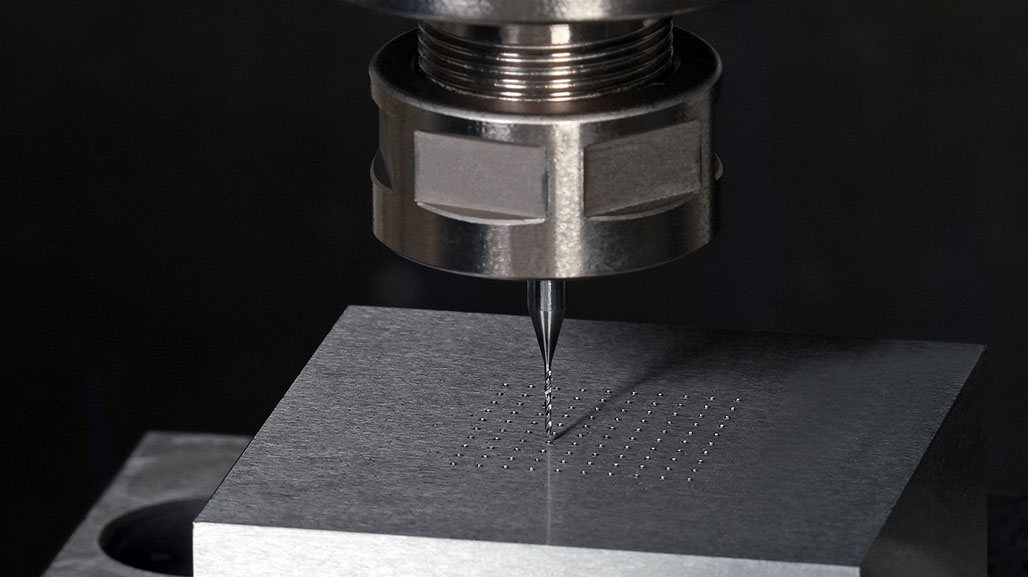
Single-plane ZGF cutters are part of EMUGE’s Threads-All line for demanding materials. (Photo courtesy of EMUGE)
Job Simplicity
With flexibility comes a bit more complexity, though. Thread milling ramps in and out of the cut, and tough materials might need a “spring pass” to account for tool deflection. The proper feed rate must be set, determined by the thread mill’s outer diameter and not its programmed toolpath, which is smaller. Still, CAM systems can handle all of this number crunching with ease, as can a skilled manual programmer. Thread milling is not the big deal it once was.
Tapping a hole requires nothing more than a suitable toolholder, a standard CNC threading cycle, and a tap designed for a particular thread geometry and workpiece material. Stick it in the machine and set a few parameters, and chances are good that the first part will be a good one.
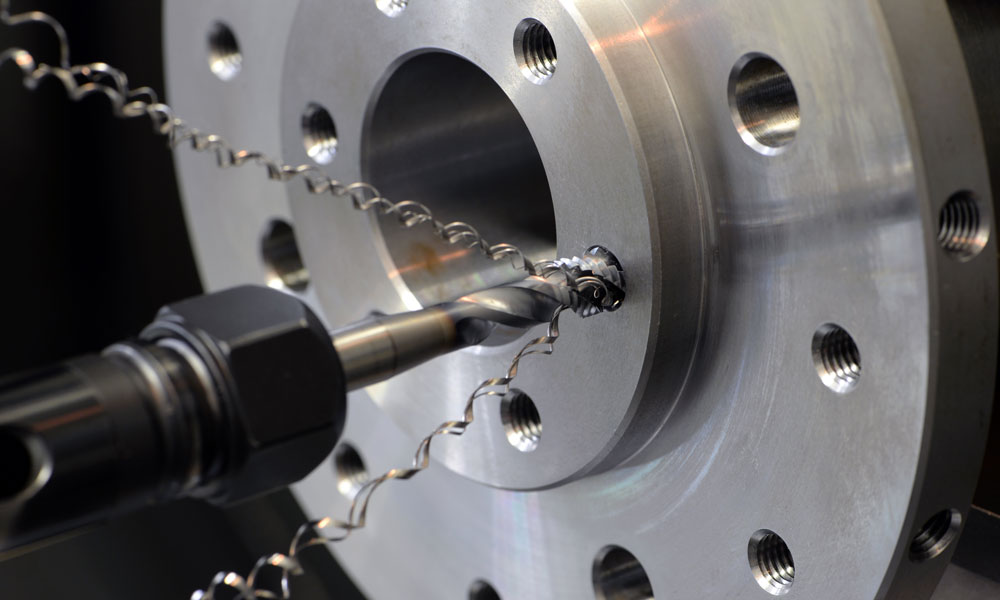
Although tapping creates longer chips than thread milling, OSG’s A-Tap is said to make them more manageable. (Photo courtesy of OSG)
Other Considerations
EMUGE’s Blandon points out that thread milling provides much better chip control compared with tapping. This is a significant concern on large or deep threads in ductile materials, where chips can reach feet in length. OSG’s Matsumoto says form or roll taps eliminate this problem, though they create higher tapping forces. Both manufacturers have taps with variable helix geometry to help make chips “nice and compact,” as Matsumoto says.
Blandon and Matsumoto also suggest using the right toolholder. For tapping, OSG has its SynchroMaster, while EMUGE offers a range of synchronous tapping heads. For thread milling, use a toolholder able to withstand high radial forces. Avoid ER collet chucks, if possible, especially when milling hardened or nickel-based materials or using full-profile cutters; instead, go with shrink-fit toolholders or a high-quality mechanical chuck like EMUGE’s FPC Tool Holding System.
Generally speaking, thread milling provides higher-quality threads, and there’s less chance of scrapping an expensive part due to a broken tool.
The bottom line? For high-mix, low-volume metalworking companies—especially those machining a wide variety of materials—thread milling wins. Where cycle time is the top concern, tapping is probably the way to go.
Do you find tapping or thread milling to be more effective for your business? Share your insights in the comments below.
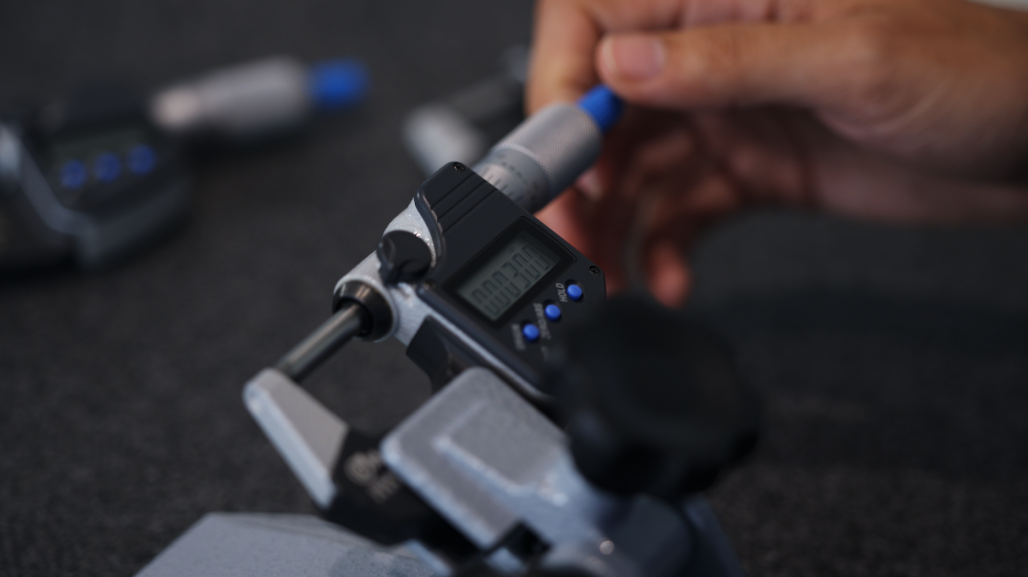
Any machinist knows the problem. You set up a threading operation, make the first part, and either the Go plug doesn’t go or the No-Go plug slides right in. Now what? If you tapped the hole, there’s only one choice: Grab the next larger or smaller H-size, cross your fingers and try again. Thread milling is easier in this case—just adjust the tool offset in the plus or minus direction. But by how much?
A properly equipped coordinate measuring machine (CMM) and a skilled operator might provide an offset value, but this requires taking the part out of the machine, never mind the downtime incurred to measure the pitch diameter. And some thread-mill providers suggest changing the offset value in increments of 0.0005” until the Go plug fits properly (and the No-Go doesn’t).
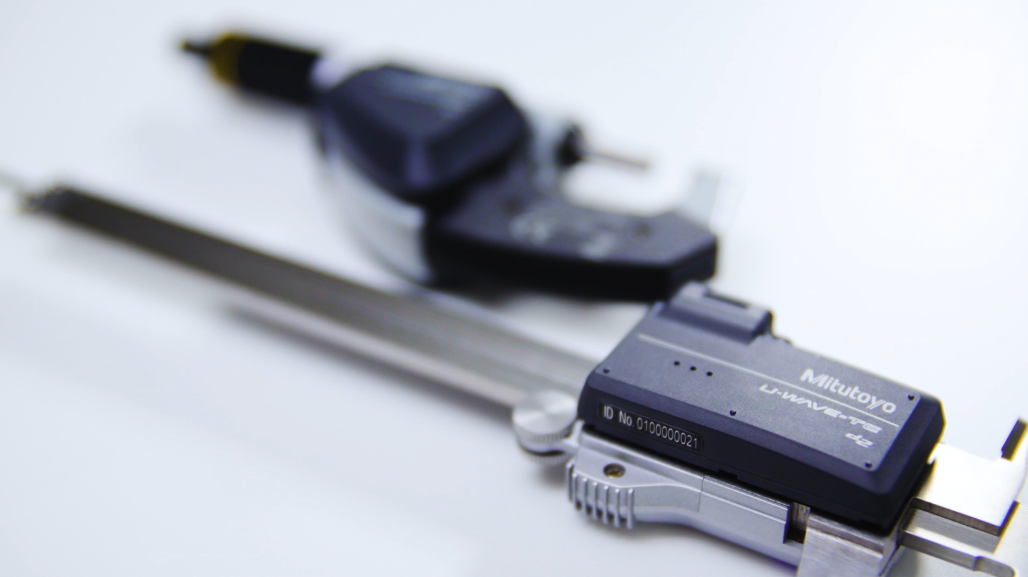
Kyle Matsumoto, product manager for OSG, says there’s an alternative. The DCT, or Diameter Correction Tool, uses a gently tapered threaded section—one for each thread size and pitch—that mates with a drop indicator-style measurement head. Simply screw the plug into the hole until snug, then set the indicator over the top and push down to seat with the workpiece face. The DCT’s readout will provide the necessary offset amount.
Author: Kip Hanson
Kip Hanson is a freelance writer and manufacturing consultant. Hanson, who is the proprietor of KAHMCO LLC, has more than 40 years experience in manufacturing, machine tools, fabrication and ERP systems. In addition, Hanson is a contributing editor at Manufacturing Engineering, Shop Metalworking Technology and others. He has been writing about manufacturing technology since 1998.
To request a quote, please login to your existing account or register a new one. This helps us provide you with a personalized experience and keep track of your requests.