



How to Locate Faults in Low-Voltage Utility Systems
In utility systems, locating faults quickly and accurately is crucial to minimize downtime and ensure the safety and reliability of the electrical infrastructure.
In utility systems, locating faults quickly and accurately is crucial to minimize downtime and ensure the safety and reliability of the electrical infrastructure.
In utility systems, locating faults quickly and accurately is crucial to minimize downtime and ensure the safety and reliability of the electrical infrastructure. Faults such as shorts, opens, and ground faults can disrupt operations and pose significant risks. A wire tracer is an essential tool for identifying and locating these faults in low-voltage systems up to 600V AC. This application note provides a step-by-step guide for using a wire tracer to locate faults in low-voltage utility systems, ensuring efficient and effective fault resolution.
You are tasked with locating faults in low-voltage cables at a utility substation where intermittent power outages and equipment failures have been reported. The substation has an extensive network of low-voltage cables, and accurate fault location is critical for restoring reliable service. Using a wire tracer will help you quickly identify and locate the faults.
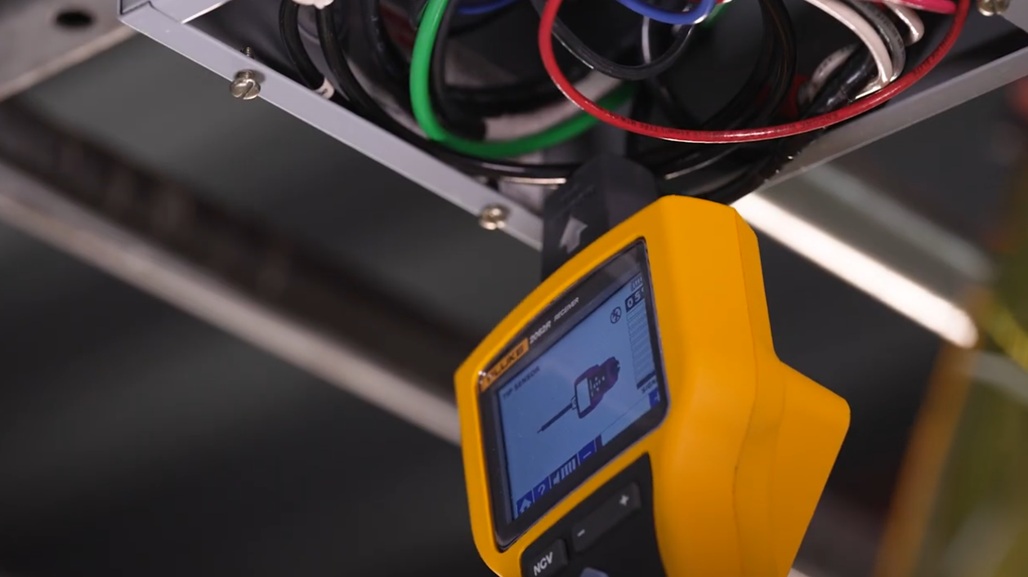
Fluke 2062 Advanced Pro Wire Tracer Kit (CAT IV 600 V, with i400 AC Current Clamp)
Screwdriver
Insulated gloves and protective gear
Circuit labels
Notebook or digital device for documentation
Read more: Get Started with the Right Multimeter and Clamp Meter Pairing
Discuss with Utility Management: Gather information about the reported issues, including affected areas and any recent changes to the low-voltage system. Discuss the project scope with utility management.
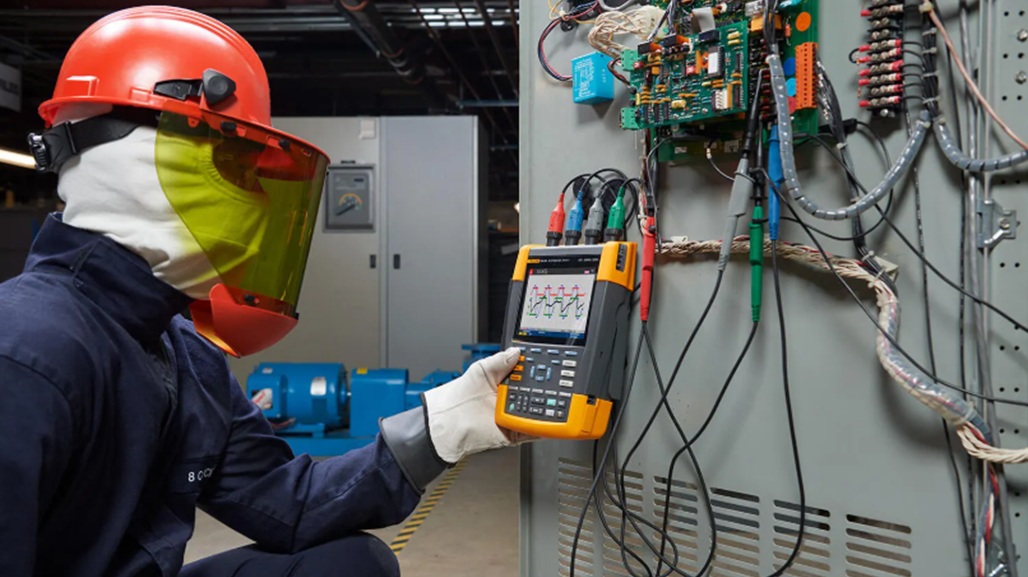
Safety First: Inform relevant personnel about the scheduled fault location work. Follow all safety protocols, including wearing insulated gloves and other protective gear.
Prepare the Transmitter: Connect the transmitter to the cable suspected of having a fault. Ensure it is properly connected (follow set-up instructions in user’s manual to refresh your knowledge). And follow safety procedures for low-voltage connections.
Activate the Receiver: Move to the electrical panel or designated area with the receiver. Turn it on and set it to the appropriate mode to detect the transmitter signal.
Scan the Cable Path: Slowly move the receiver along the path of the low-voltage cable. The receiver will pick up the signal from the transmitter, allowing you to trace the cable's route.
Identify Fault Locations: Pay attention to changes in the signal strength. A sudden drop in the signal may indicate an open circuit or break. Mark the location. To verify the location of fault, move the transmitter to the other end of the wire and repeat tracing steps from the opposite end. If the signal drops at the same location, the fault has been located.
Document the Path: As you trace the cable path, document the route and potential fault locations. Use a notebook or digital device to record the information, which will be valuable for future maintenance and troubleshooting.
Turn Off Power: Before accessing any low-voltage connections, turn off the power to the affected cable. Use a voltage tester to confirm the power is off.
Inspect the Cables: Open junction boxes and inspect the cables at the identified fault locations. Look for signs of damage, wear, or loose connections.
Test with Insulation Resistance Tester: Use an insulation resistance tester to check for insulation breakdown and verify the integrity of the cables. This step ensures the cables are in good condition.
Fix Loose Connections: Tighten any loose connections and ensure all connections are properly secured.
Repair or Replace Damaged Cables: If damaged cables are found, repair them using appropriate insulation materials or replace the faulty section with new cable.
Secure Connections: Ensure all connections are properly insulated and secured according to low-voltage safety standards.
Reassemble Junction Boxes: Once all inspections and repairs are complete, reassemble the junction boxes and secure all covers.
Restore Power: Turn the power back on at the control panel. Use a voltage tester to verify that power is restored to the cables.
Test the System: Use the wire tracer to verify that there are no remaining issues. Perform a thorough test to ensure the reliability and safety of the low-voltage system.
Issue | Solution |
Weak Signal from Receiver | Ensure the transmitter is properly connected, check the batteries, and verify connections |
Multiple Faults Detected | Address each fault one at a time, starting with the most critical or accessible one |
Persistent Faults | Use additional testing equipment such as insulation resistance testers to identify deeper issues |
Use Clear Labeling: Clearly label each cable, junction box, and connection point to avoid confusion and ensure a smooth fault location process.
Keep Detailed Records: Document all findings, including the locations and types of faults found and addressed. This information is essential for future reference and planning.
Double-Check Repairs: After making repairs, double-check all connections to ensure they are secure and meet safety standards.
Regular Inspections: Schedule regular inspections of cables and connections to identify and address potential issues before they become significant problems.
Using a wire tracer for locating faults in low-voltage utility systems is essential for ensuring the safety, reliability, and efficiency of electrical infrastructure. By following the steps outlined in this application note, you can quickly and accurately locate faults, perform necessary repairs, and ensure the continued safe operation of critical electrical systems. Investing in a high-quality wire tracer, such as the Fluke 2062 Advanced Pro Wire Tracer Kit, can significantly enhance your ability to perform professional and reliable electrical maintenance services.
This article was previously featured on Fluke's blog.
Fluke® Tools Corporation founded in 1948 is the world leader in compact, professional electronic test tools. Fluke tools range from electrical test equipment, precision measurement & quality control to HVAC. Fluke products are designed for day-to-day field troubleshooting and maintenance of electrical systems, electrical power systems, HVAC/R systems, and associated equipment. Find a wide variety of Fluke electrical test tools at mscdirect.com.





To request a quote, please login to your existing account or register a new one. This helps us provide you with a personalized experience and keep track of your requests.