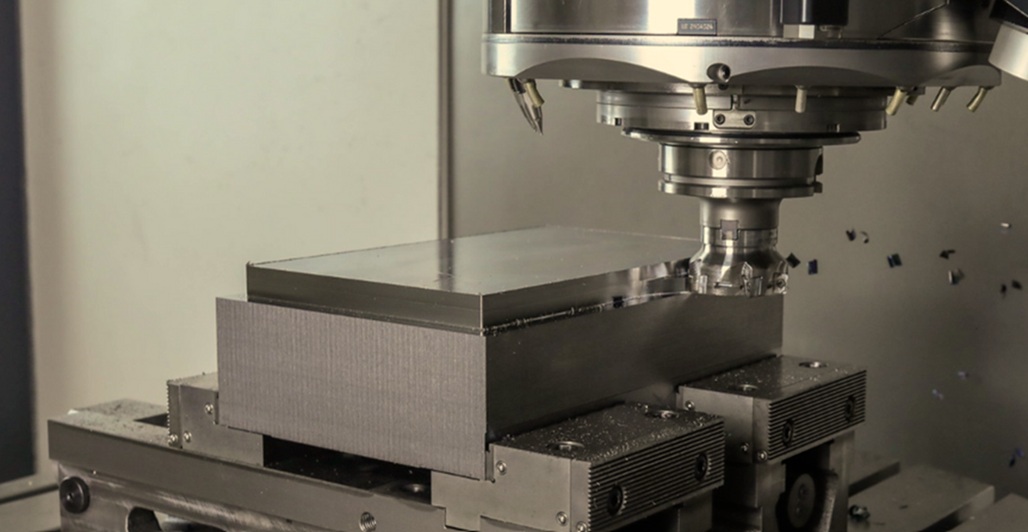
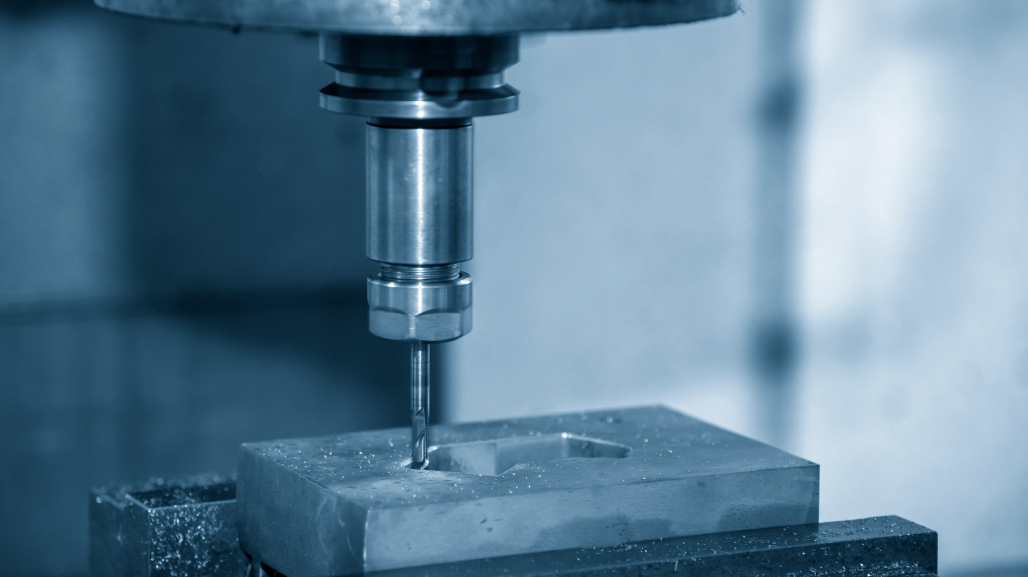
Square shoulder milling is one of the most common milling operations, but it is rarely as simple as it looks.
Creating a clean, precise 90-degree wall, maintaining surface quality, controlling vibration, and keeping tool costs under control all depend on making the right decisions before machining begins.
For machinists, operators, and production engineers, the challenge is not only choosing a square shoulder milling cutter, but also profoundly understanding the full application: the material, the machine, the component, the tolerance requirements, and the production environment.
This blog looks at common square shoulder milling challenges and how machinists like you can approach them in a practical way.
First things first: Always start with the material and the machine.
Most square shoulder milling problems begin to rear their heads long before the first cut is made. That’s why the material being machined, and the machine's specific capabilities, should always be the starting point for any tool recommendation.
Different materials place different demands on the cutting edge, geometry, grade, and chip evacuation.
Steel, stainless steel, titanium, cast iron, and aluminum do not behave in the same way. You can read more about material specificities on this article.
Some generate more heat, some are more prone to burr formation, and others require sharper, more positive geometries to reduce cutting forces. Machine capability is also just as important. Power, torque, spindle speed, rigidity, and achievable RPM will all affect what the tool can do reliably.
A cutter that performs well on a powerful, rigid machine may not be the right choice on a smaller machine with limited torque.
In these cases, a lighter-cutting solution may offer better process security than a more aggressive choice.
Before selecting a square shoulder mill, we encourage you to ask…
- What material is being machined, and why?
- What machine power and torque are available?
- What spindle speed can the machine realistically achieve?
- How rigid is the setup?
- Is the operation roughing, semi-finishing, or finishing?
The answers to these questions will help you narrow down your options, and ultimately, potential machining challenges.
Challenge 1: Chatter and vibration.
Chatter is one of the most common challenges in square shoulder milling. It can damage surface quality, reduce tool life, create excessive noise, and make the process unreliable.
The cause is often a combination of tool choice, cutting data, overhang, machine stability, and workholding.
Long overhangs, weak setups, and aggressive cutting parameters can all increase vibration. In some applications, the tool may also be generating more cutting force than the machine or setup can comfortably handle.
Reducing chatter typically improves process stability and lowers cutting forces. This can be achieved by using a shorter tool overhang, selecting a more positive cutting geometry, adjusting feed and speed, reducing depth of cut, or choosing a cutter better suited to the machine.
For smaller machines or lighter setups, the most productive solution is not always the most aggressive one. A stable process with predictable tool life will usually outperform an unstable process that has to be stopped, adjusted or reworked.
Watch this video to learn more about challenges with chatter in square shoulder milling.
Challenge 2: Poor surface quality.
Poor surface quality is typically caused by vibration, but incorrect cutting data, unsuitable geometry, poor chip evacuation, and tool wear can all contribute to this challenge.
In square shoulder milling, it is especially noticeable because wall quality is often visible and measurable.
The required surface finish should influence tool selection from the beginning.
A roughing operation and a finishing operation have different priorities. For example, roughing may require edge strength and metal removal rates, while finishing may require higher precision, lower cutting forces, and a geometry capable of producing a clean wall.
In some cases, a finishing pass (or spring pass) may help improve wall quality. However, this should be seen as part of the machining strategy, not a substitute for choosing the right tool.
If the tool is not suited to the component tolerance or wall requirements, adding extra passes may actually increase cycle time without solving the underlying issue.
Challenge 3: Achieving a true 90-degree shoulder.
A “true 90-degree shoulder” is about more than the shape of the cutter.
In practical terms, it means achieving the explicit perpendicularity, straightness, and wall tolerance needed to meet the component drawing.
This becomes especially important when the shoulder is a functional surface, when the wall must meet another component, or when secondary finishing operations would add cost and time.
If the wall is not accurate enough, the customer may face rework, a mismatch between passes, a poor fit, or additional finishing work.
Tool choice really matters here. Solid end mills generally offer higher stiffness at smaller diameters, which can limit tool deflection and support good wall quality. Indexable milling cutters, however, can offer productivity and cost advantages in many applications, especially at larger diameters or where edge economy is important.
Cutting length also matters. If the cutting length is too short and multiple step-down passes are needed, there can be a visible mismatch between passes. Selecting a tool with the right cutting length for the wall height can help significantly reduce this problem.
Continue reading this blog in its entirety here to learn about more square shoulder milling challenges.
This article was previously featured on Seco's blog.